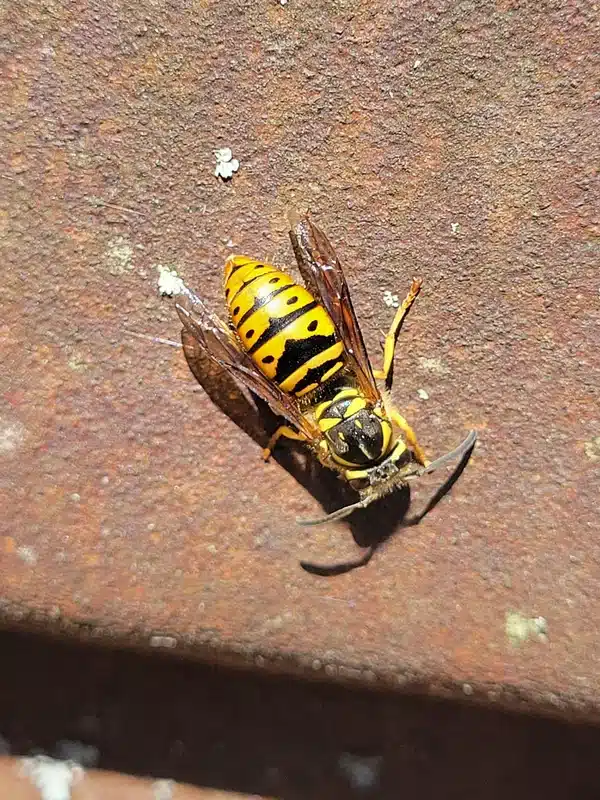
Finding wasps flying in and out of your home’s exterior can be alarming, especially when they seem to disappear into your walls. A wasp nest in wall voids creates a hidden threat that many homeowners don’t discover until it’s too late. These concealed colonies can grow to contain hundreds or even thousands of aggressive wasps without you knowing.
Unlike exposed nests that hang from eaves or tree branches, wall-dwelling wasps are particularly dangerous because they’re harder to detect and treat. The confined space makes them more defensive, and disturbing them incorrectly can lead to wasps breaking through into your living space.
In our 57 years serving the Mid-Atlantic region, we’ve seen how quickly wall nests can escalate from a minor concern to a serious problem. Spring and late summer are peak seasons for these infestations, with August being especially challenging due to increased wasp aggression.
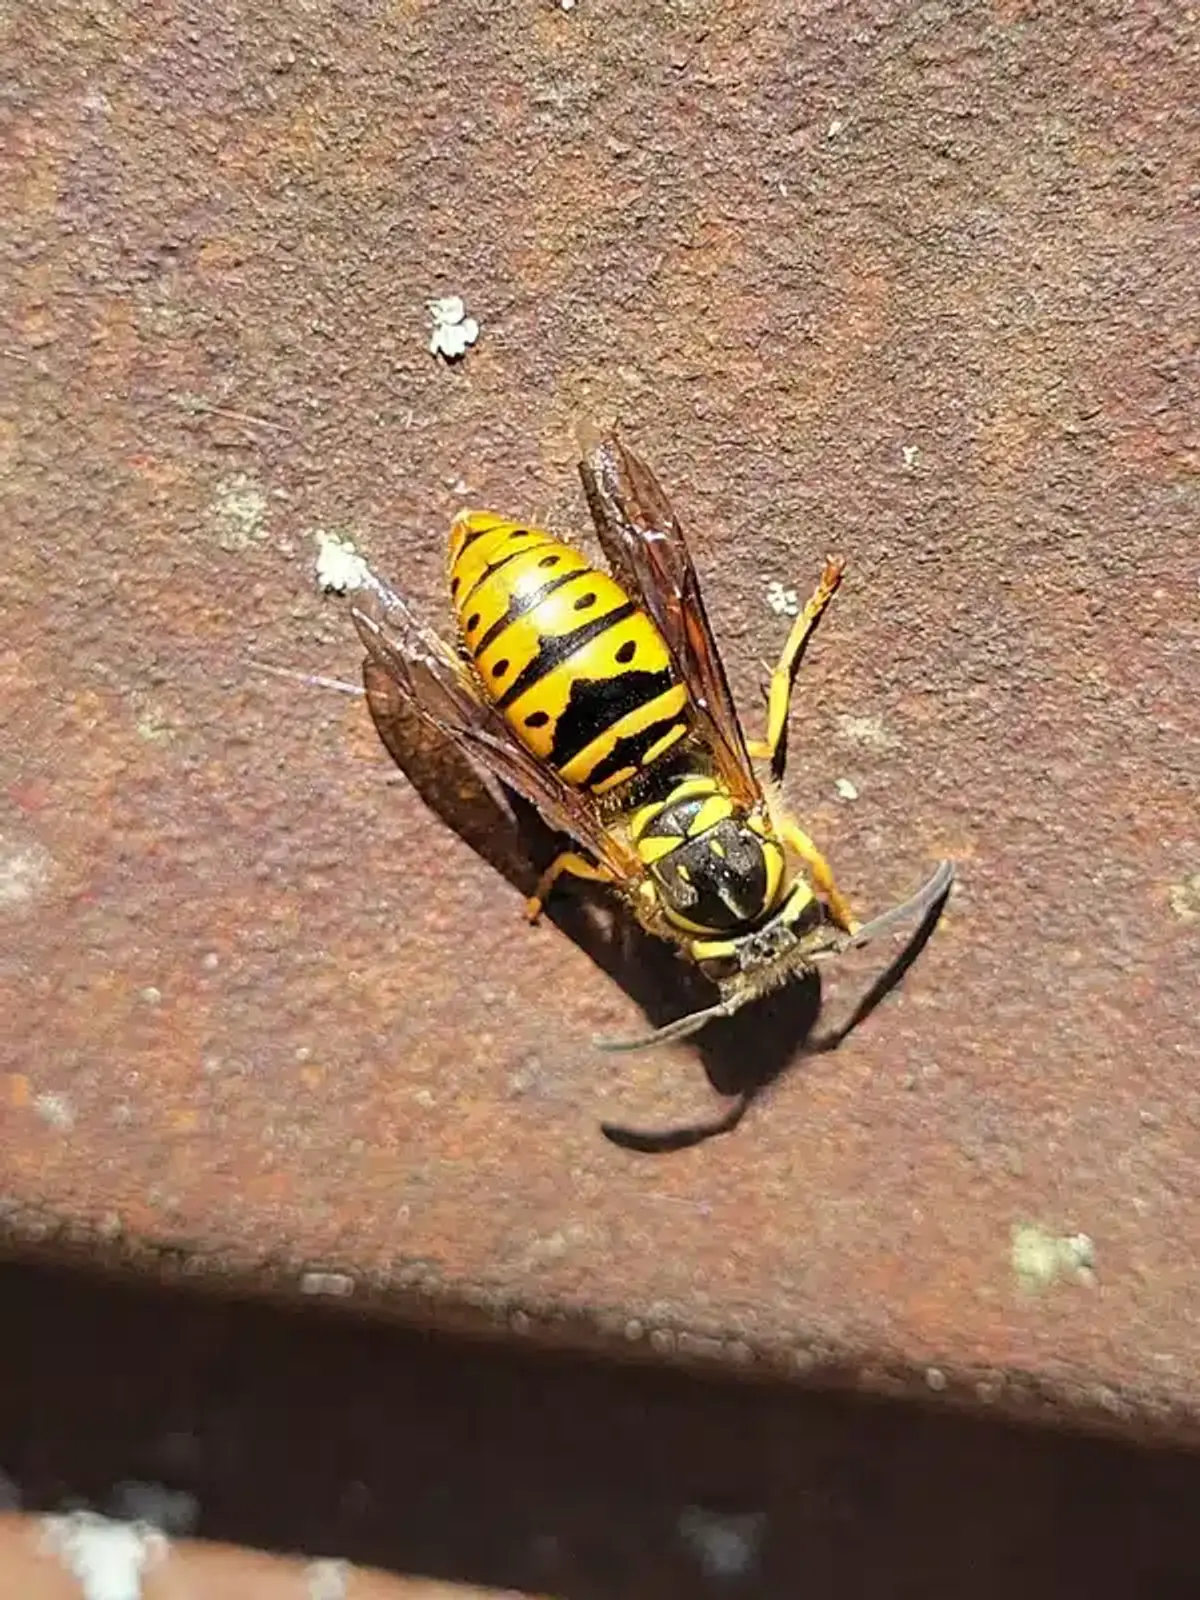
Warning Signs of a Wasp Nest in Wall
Detecting a concealed wasp nest requires knowing what to look for. These signs often develop gradually, making early detection crucial for preventing a larger infestation.
Wasp Traffic Patterns
The most obvious indicator is repeated wasp activity at the same exterior location. You’ll notice wasps consistently entering and exiting through specific gaps in siding, around utility penetrations, or near window frames. This traffic typically increases during daylight hours and decreases at dusk when workers return to the colony.
Additionally, the number of wasps using the same entry point will grow throughout the season as the colony expands. What starts as a few wasps in spring can become dozens by late summer.
Unusual Sounds from Wall Cavities
A wasp nest in wall cavities often produces distinctive sounds that homeowners describe as buzzing, scratching, or crackling noises. These sounds become more noticeable when you tap on the wall near the suspected nest location.
The crackling sound occurs when wasps chew through drywall paper to expand their nesting space. This activity weakens the wall structure and can eventually lead to breakthrough incidents.
Temperature and Moisture Changes
Large wasp colonies generate heat that can make sections of your wall feel warm to the touch. This is especially noticeable during peak activity periods in late summer when colonies reach their maximum size.
Furthermore, the moisture from the nest and wasp activity can cause wall discoloration or water stains. Many homeowners initially mistake these signs for plumbing leaks, delaying proper treatment.
Common Void-Nesting Wasp Species
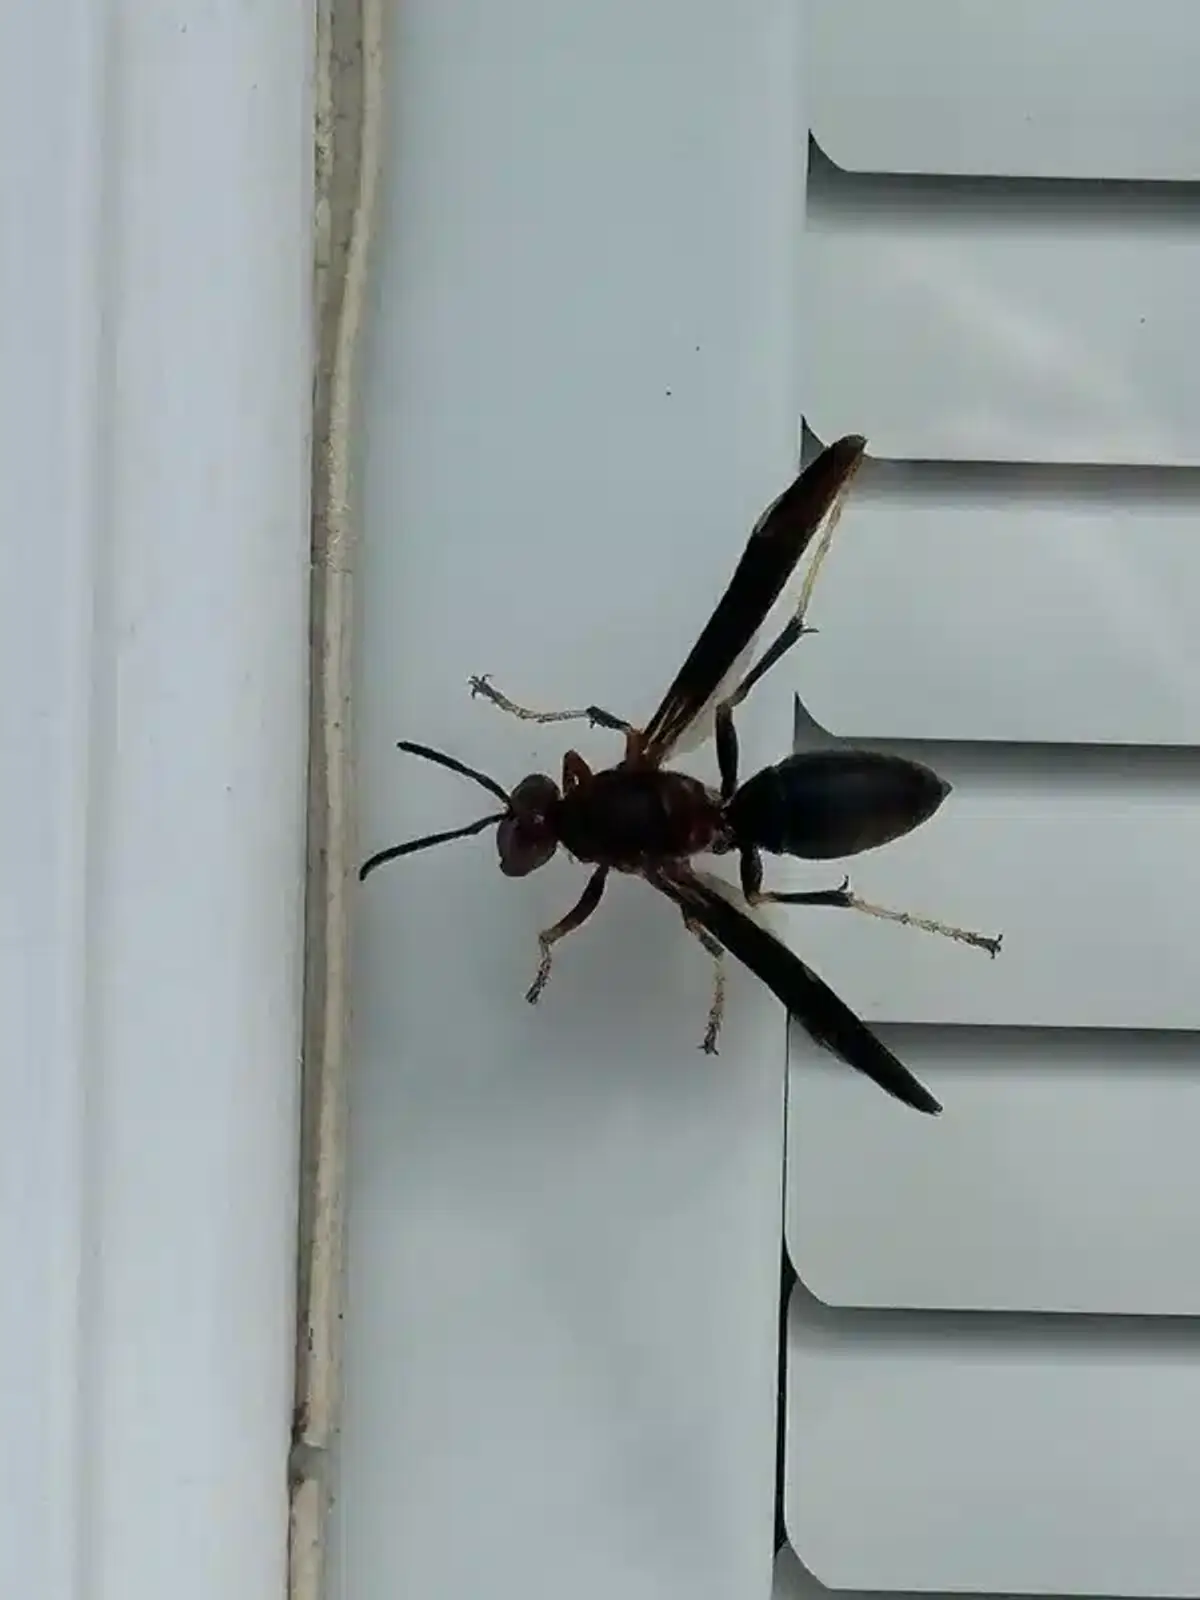
Not all wasps build nests inside walls, but several species in the Mid-Atlantic region are notorious for this behavior. Understanding which species you’re dealing with helps determine the best treatment approach.
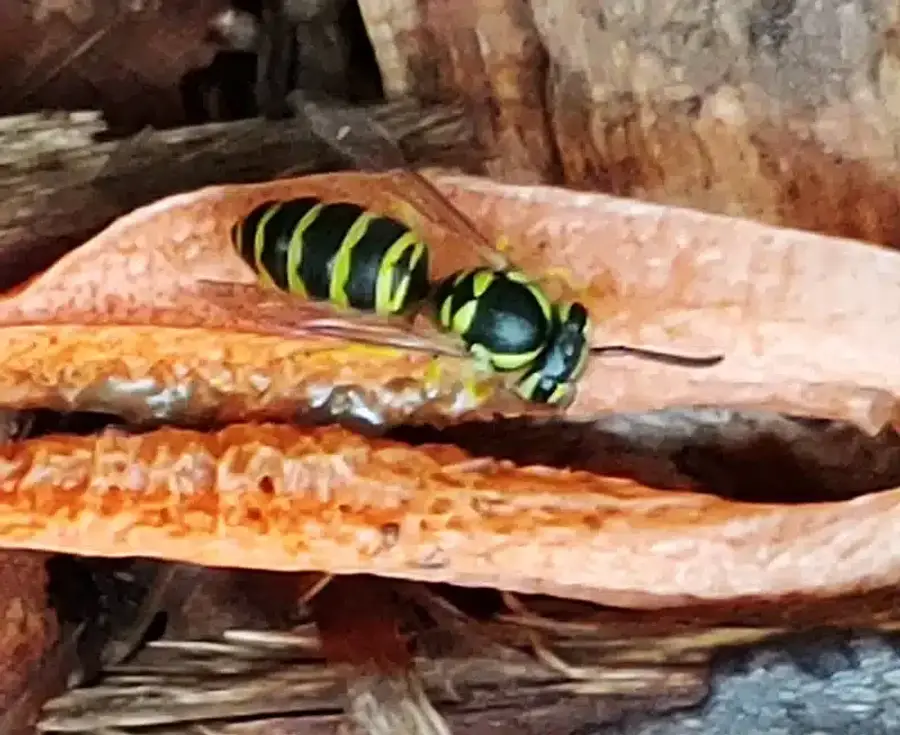
Yellow Jackets
Yellow jackets are the most aggressive wall-nesting species we encounter. Eastern and German yellow jackets commonly exploit wall voids, expanding them with paper-like comb material. These colonies can grow to over 1,000 workers by late summer.
Because of their defensive nature, yellow jackets pose the highest risk for stinging incidents. They can sting repeatedly and will aggressively defend their nest when threatened.
Paper Wasps
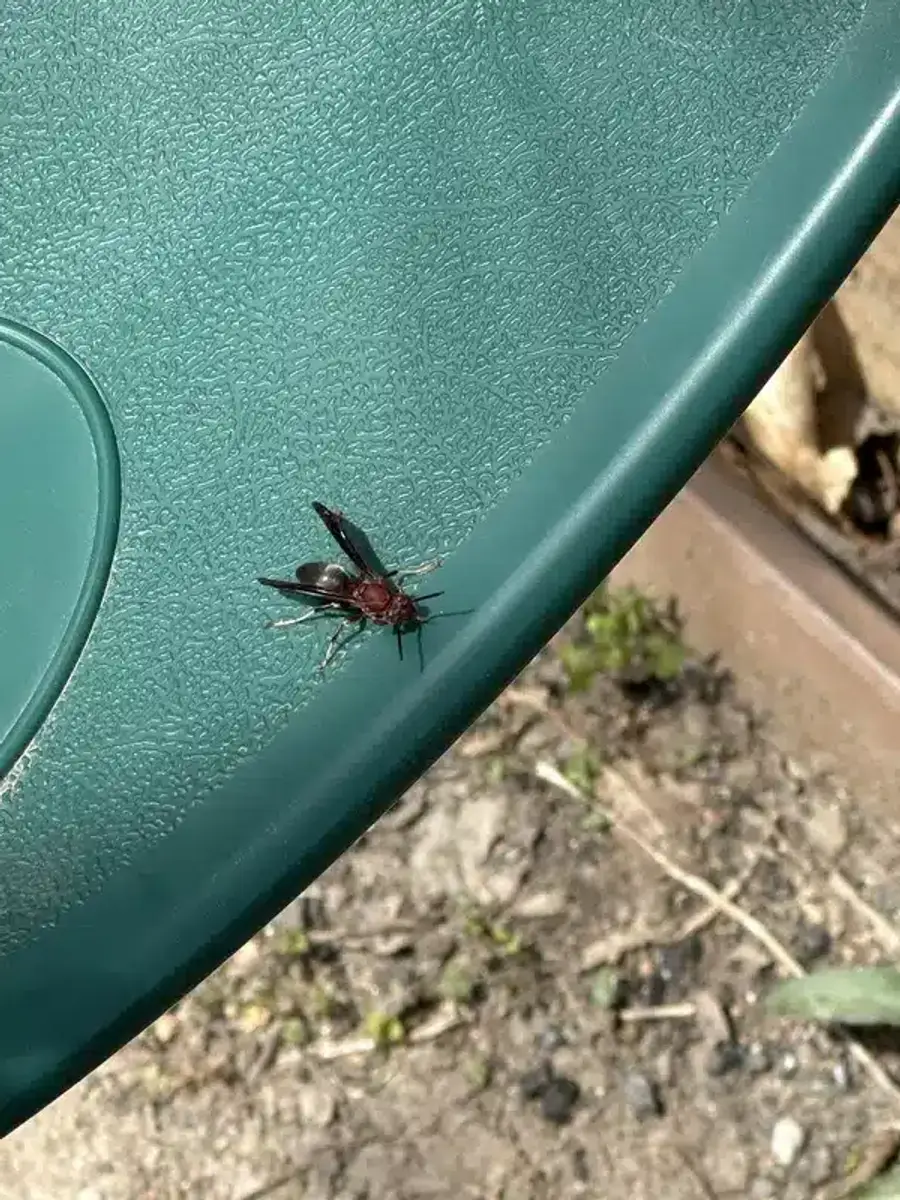
Paper wasps, including the European paper wasp, also frequently nest in wall cavities. While generally less aggressive than yellow jackets, they still defend their territory vigorously when disturbed.
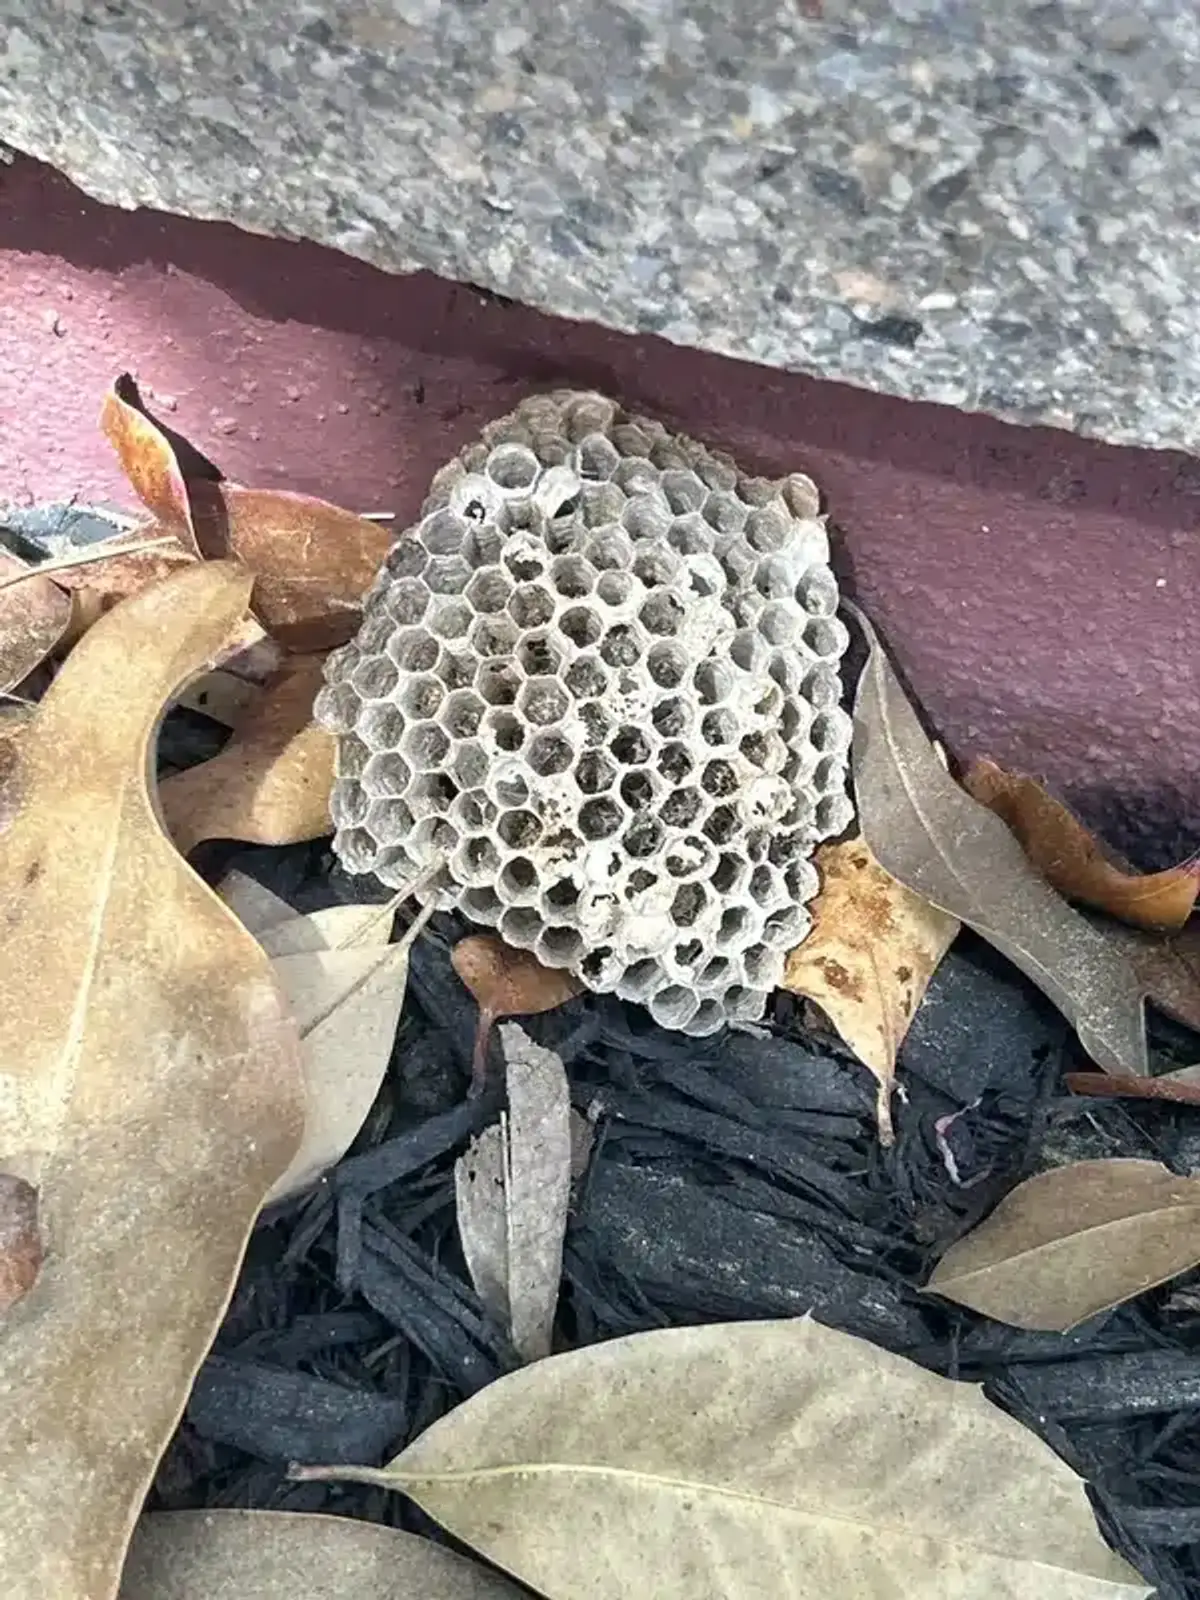
These wasps create umbrella-shaped nests that they attach to the interior structure of wall voids. Understanding the roles within a paper wasp colony helps explain why eliminating the entire nest is crucial for long-term control.
Aerial Yellow Jackets
Aerial yellow jackets, including bald-faced hornets, occasionally select wall voids for nesting. These species typically prefer elevated locations and can create substantial nests that require professional-grade equipment for removal.
| Feature | Yellow Jackets | Paper Wasps |
|---|---|---|
| Colony Size | Up to 1,000+ workers | 50-200 workers |
| Aggression Level | Very high | Moderate to high |
| Nest Structure | Paper-like comb material | Umbrella-shaped comb |
| Treatment Difficulty | High - large colonies | Moderate - smaller nests |
Why DIY Wasp Nest Removal Is Extremely Dangerous
Attempting to remove a wasp nest in wall location yourself creates serious safety and effectiveness concerns. Professional pest control exists for good reason when dealing with concealed wasp colonies.
Limited Access to Effective Products
Consumer-grade wasp sprays aren’t designed for wall void applications. Effective treatments require specialized dust formulations containing deltamethrin or silica-aerogel compounds that aren’t available to homeowners.
Additionally, liquid sprays can actually drive wasps deeper into wall cavities or force them into HVAC systems, spreading the problem throughout your home.
Protective Equipment Requirements
Our registered technicians use professional-grade protective suits specifically rated for stinging insects. Standard clothing offers no protection against multiple wasp stings, which can occur when disturbing a defensive colony.
Moreover, ladder work while wearing protective gear requires training and experience. Multiple studies show that ladder injuries are common when untrained individuals retreat from angry wasps.
What does the science say?
According to University of Minnesota Extension research, ladder-related injuries during wasp encounters occur in over 40% of DIY attempts. The study found that when wasps aggressively defend their nests, untrained individuals often lose balance while retreating quickly. Additionally, CDC occupational safety data shows that professional-grade protective equipment reduces sting incidents by 95% compared to standard clothing, highlighting why specialized gear is essential for safe wasp nest removal.
Risk of Indoor Breakthrough
The biggest danger of DIY attempts is accidentally forcing wasps into your living space. Sealing entry points before eliminating the colony or using incorrect treatment methods can cause wasps to chew through interior drywall.
We’ve responded to emergency calls where hundreds of wasps flooded into bedrooms and kitchens after homeowners sealed exterior entry points too quickly.
Essential Wasp Nest Safety Protocol
- Never Approach Alone: Always have someone nearby when investigating suspected wasp nest activity, especially during peak hours.
- Maintain Safe Distance: Stay at least 15-20 feet away from suspected entry points when observing wasp traffic patterns.
- Emergency Preparation: Keep epinephrine accessible for anyone with known sting allergies, and know the route to nearest urgent care.
- Professional Contact: Have our emergency number (703-683-2000) readily available before any wasp activity investigation.
- Time Awareness: Avoid investigating wasp activity during peak aggression periods (late summer afternoons).
Professional Wasp Nest Treatment Methods
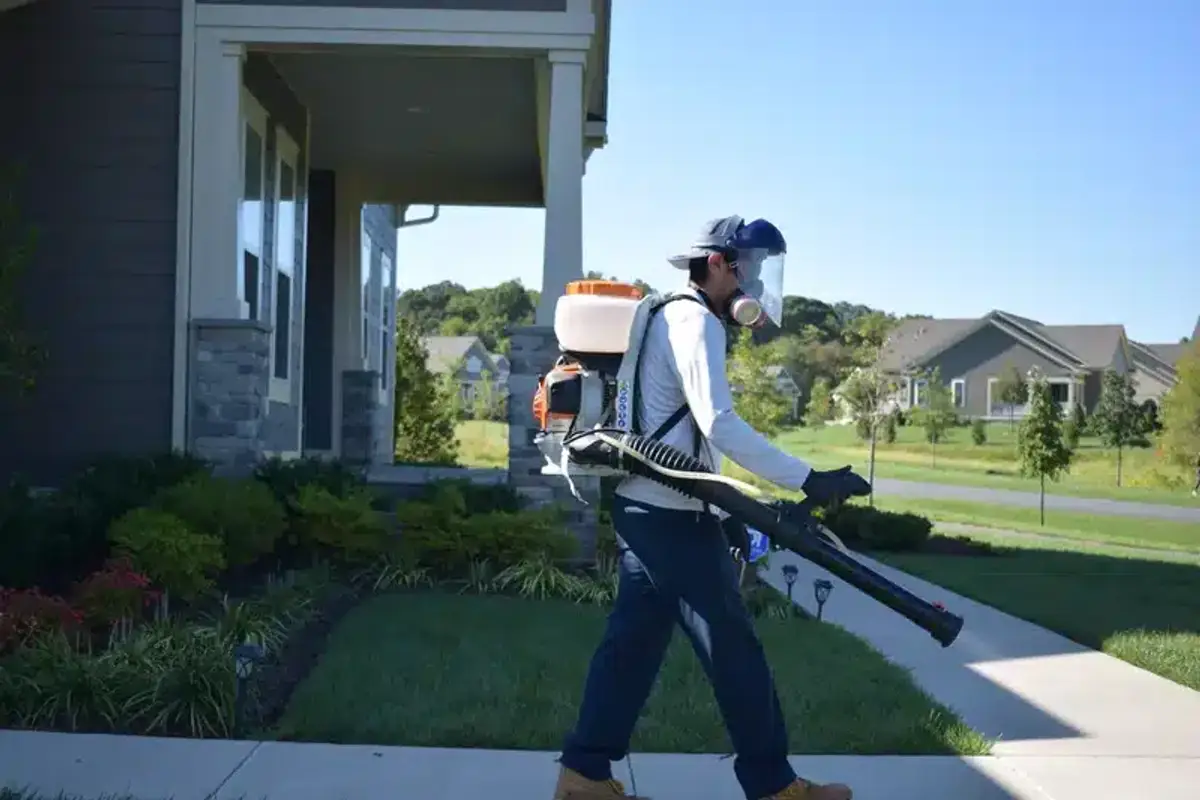
Eliminating a wasp nest in wall cavity requires a systematic approach that prioritizes both effectiveness and safety. Our treatment process has been refined through decades of experience with concealed wasp colonies.
Colony Assessment and Mapping
The first step involves determining the exact location and size of the nest. Our technicians use acoustic listening techniques and infrared detection to map the void space and estimate colony size.
Because different wasp species create different nest structures, proper identification guides our treatment strategy. This assessment also reveals secondary entry points that homeowners typically miss.
Insecticidal Dust Application
Professional treatment relies on specialized dust formulations that penetrate deep into wall voids. These products cling to wasps and nest materials, ensuring complete colony elimination within 24-72 hours.
We apply dust through both the main entry point and strategically drilled access holes positioned above and below the nest. This technique ensures the entire colony contacts the treatment material.
Treatment Timing
All treatments occur during pre-dawn or evening hours when worker wasps have returned to the colony. Cool temperatures reduce wasp flight activity, making treatment both more effective and less dangerous.
Furthermore, understanding seasonal wasp behavior helps determine the optimal treatment window for different species and colony sizes.
Critical Mistakes to Avoid
Certain actions can worsen a wall nest situation or create new hazards. These mistakes are unfortunately common among homeowners attempting DIY solutions.
Never Seal Entry Points First
The most dangerous mistake is sealing wasp entry points before confirming the colony is completely dead. Iowa State University Extension specifically warns that premature sealing forces wasps through drywall joints and light fixtures.
Entry points should remain open for at least 72 hours after treatment to allow returning foragers to contact the insecticide and carry it back to any surviving nest members.
Avoid Liquid Treatments
Flooding wall voids with water, gasoline, or liquid insecticides creates multiple problems. These methods are ineffective against established colonies and can cause structural damage or fire hazards.
Additionally, moisture introduction can lead to mold growth and wood rot within wall cavities, creating expensive repair issues beyond the original wasp problem.
Don’t Ignore Safety Protocols
Attempting daytime treatments or working without proper protective equipment puts you at serious risk. The CDC reports approximately 90-100 deaths annually from insect sting anaphylaxis, with yellow jackets being a leading cause.
Entry Point Prevention
After eliminating a wasp nest in wall location, preventing future infestations requires identifying and sealing potential entry points. Wasps are opportunistic and will exploit even small gaps in your home’s exterior.
Common Entry Locations
Typical wasp entry points include siding butt joints, J-channels around windows, and unscreened soffit vents. Additionally, cable and utility line penetrations often provide access to wall voids.
Brick weep holes and damaged wood siding also create opportunities for nest establishment. Our technicians perform comprehensive exterior inspections to identify these vulnerable areas.
Exclusion Techniques
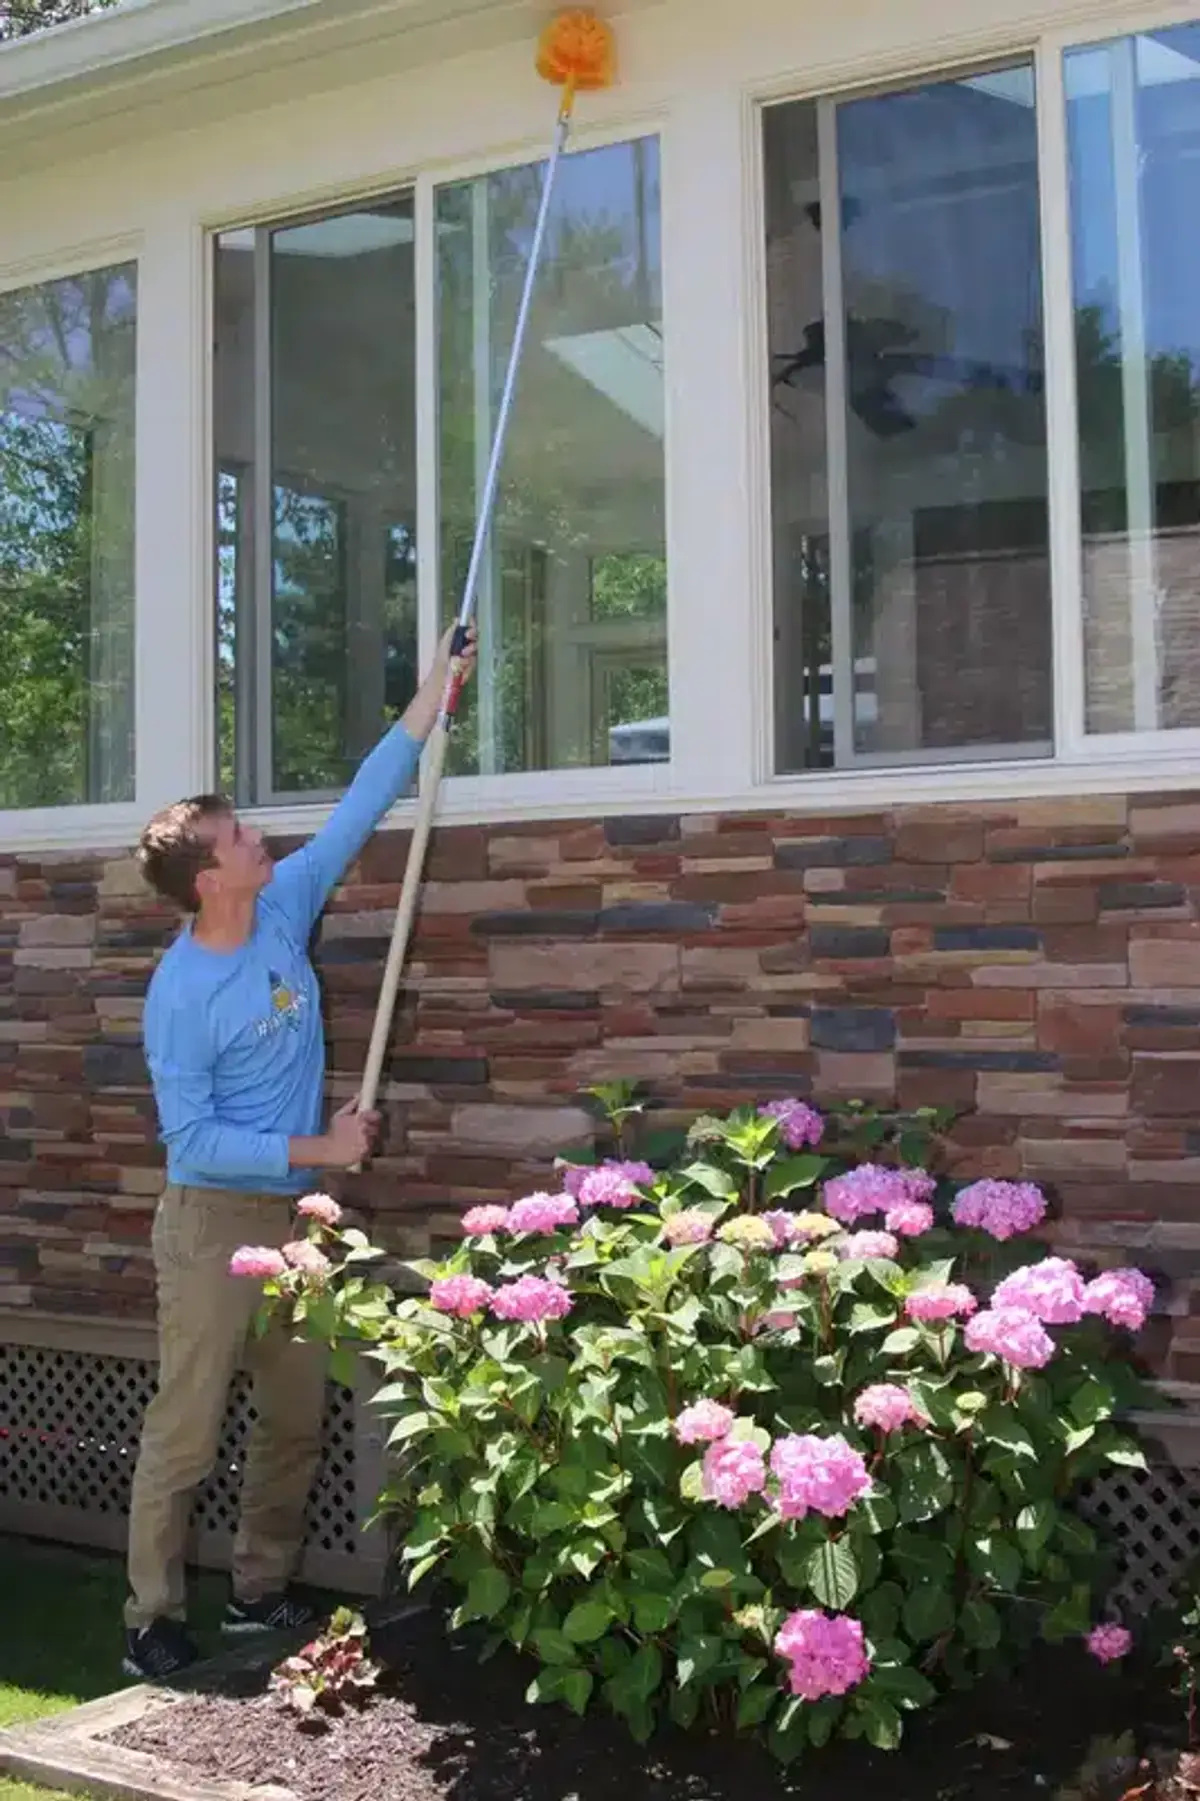
Quality exterior caulking and fine mesh screening prevent most wasp intrusions. However, timing is crucial—these repairs should occur during late fall or winter when wasp activity is minimal.
Spring exclusion work can trap overwintering queens inside wall cavities, potentially creating new problems. North Carolina State Extension recommends early spring inspections before queens begin searching for nesting sites.
Emergency Procedures for Indoor Wasp Breakthrough
If wasps break through into your living space, immediate action can prevent stings and minimize the situation. These emergencies require calm, systematic responses.
Immediate Isolation
Close all interior doors to contain wasps in the affected room. Turn off lights in that area since wasps are attracted to illumination, and block HVAC vents to prevent spread through ductwork.
Evacuate all occupants, especially children and anyone with known sting allergies. Keep epinephrine auto-injectors accessible for individuals with prescribed emergency medications.
Professional Emergency Response
Contact our emergency line immediately for breakthrough situations. These scenarios require specialized vacuum extraction equipment and protective gear that homeowners don’t possess.
Never attempt to spray aerosols in enclosed spaces with multiple wasps present. This increases agitation and can force more wasps through additional breakthrough points.
Seasonal Timing Considerations
The timing of wasp nest in wall treatments significantly affects both success rates and safety concerns. Understanding seasonal wasp behavior helps determine the best intervention strategy.
Early Season Treatment
May through June treatments target small, developing colonies with minimal sting risk. These early interventions are the most straightforward and typically require only single treatments.
During this period, colonies contain fewer than 100 workers, making them less defensive and easier to eliminate completely.
Late Season Challenges
August through October presents the most challenging treatment scenarios. Colonies reach peak populations of several hundred to over 1,000 workers, dramatically increasing aggression levels.
However, waiting until the first hard frost eliminates the colony naturally may be appropriate if the nest doesn’t pose immediate threats. This approach requires careful monitoring to ensure wasps don’t break through into living spaces.
Weather Considerations
Treatment effectiveness depends heavily on weather conditions. Rain causes insecticidal dust to clump and lose effectiveness, while temperatures above 90°F increase both product volatility and wasp agitation.
Additionally, understanding treatment timelines helps set realistic expectations for colony elimination under various weather conditions.
Long-Term Prevention Strategy
Preventing future wasp nest in wall establishments requires ongoing maintenance and seasonal awareness. A comprehensive prevention program addresses both structural vulnerabilities and environmental attractants.
Annual Inspection Schedule
Spring exterior inspections should focus on winter damage that creates new entry points. Additionally, fall assessments identify areas where wasps attempted to establish nests during the active season.
Because different stinging insects have varying nesting preferences, comprehensive inspections help distinguish between beneficial pollinators and potentially problematic species.
Environmental Management
Proper waste management reduces wasp attractants around your property. Tight-fitting trash can lids and regularly cleaned recycling containers minimize food sources that draw wasps to your home’s exterior.
Moreover, maintaining vegetation away from siding and eaves reduces wasp resting areas and makes exterior inspections more effective.
Professional Treatment Benefits
Choosing professional wasp nest removal over DIY attempts provides significant advantages in both safety and long-term effectiveness. Our systematic approach addresses the complete problem, not just the visible symptoms.
Comprehensive Colony Elimination
Professional treatments ensure complete colony elimination through proper product selection and application techniques. Our registered technicians understand how different wasp species respond to various treatment methods.
Additionally, we identify and treat all entry points, preventing surviving wasps from re-establishing elsewhere in your home’s structure.
Structural Protection
Our treatment methods protect your home’s structure while eliminating the wasp threat. We avoid techniques that could cause moisture damage, fire hazards, or unnecessary structural modifications.
Furthermore, post-treatment recommendations help prevent secondary pest infestations that can develop from untreated dead nest material.
When to Call for Help
Certain situations require immediate professional intervention rather than waiting or attempting DIY solutions. Recognizing these scenarios can prevent dangerous escalations.
Call professionals immediately if you observe increasing wasp traffic, hear sounds from within walls, or notice temperature changes in wall sections. Additionally, any signs of interior breakthrough or aggressive wasp behavior warrant emergency response.
Large colonies discovered in late summer pose the highest risk for both breakthrough incidents and severe stinging scenarios. These situations often require specialized equipment and multiple treatment visits for complete resolution.
If you suspect a wasp nest in wall area of your home, don’t wait for the problem to worsen. Our experienced team has the knowledge, equipment, and products needed to eliminate concealed wasp colonies while protecting your family and property. Contact us at 703-683-2000 for immediate assistance or email us at info@bettertermite.com to schedule an inspection.
Frequently Asked Questions
How do I know if there's a wasp nest in my wall?
+
Look for wasps repeatedly entering and exiting the same exterior gap, listen for buzzing or scratching sounds from within walls, and check for warm spots on interior wall surfaces. Increased wasp activity during daylight hours at specific locations is the most reliable indicator.
Can wasps chew through drywall into my home?
+
Yes, wasps can chew through the paper backing of drywall, making it thin enough to break through into living spaces. This typically happens when colonies are large and feel threatened.
With five years of hands-on experience in the pest control industry, George Schulz is a registered technician with the Virginia Pest Management Association and a proud third-generation professional in a family business that's been protecting homes for over 57 years. He manages and trains a team of service pros while also leading internal research efforts—recently spearheading a deep-dive review of thousands of documents on pest control materials to hand-pick the most kid and pet friendly, most effective solutions tailored specifically for homes in the DC metro area.
